


Proper Mercedes head-up display (HUD) calibration is crucial after interior rework for optimal safety and driving experience. Regular maintenance checks and recalibration after significant services ensure accurate HUD projection aligned with the driver's line of sight. Post-interior modifications, professional calibration is recommended to focus on display accuracy, especially for Mercedes HUD calibration.
After a vehicle’s interior rework, calibrating your Mercedes’ head-up display is crucial for ensuring optimal performance and accuracy. This guide delves into the essential steps required to fine-tune your display following interior changes. Understanding how various modifications can impact display settings is key. Learn how to navigate these adjustments, from identifying calibration needs to implementing a step-by-step process that restores your Mercedes’ head-up display to its best functionality.
- Understanding Mercedes Head-Up Display Calibration Needs
- Interior Rework Impact on Display Accuracy and Settings
- Step-by-Step Guide: Calibrating After Interior Changes
Understanding Mercedes Head-Up Display Calibration Needs

The Mercedes Head-Up Display (HUD) is a sophisticated feature that enhances driver visibility and safety by projecting essential information onto the windshield. However, like any advanced technology, it requires proper calibration to ensure optimal performance. Understanding Mercedes HUD calibration needs is crucial for maintaining this cutting-edge system, especially after interior rework or other automotive modifications.
When calibrating the HUD, several factors come into play. Regular auto maintenance checks are essential to verify the display’s accuracy and alignment. Following a comprehensive autobody repair or tire service, it becomes even more critical to recalibrate the HUD to account for any changes in vehicle dynamics and interior adjustments that could impact its projection. This process ensures the information displayed remains accurate, consistent, and aligned with the driver’s line of sight, contributing to a safer and more enjoyable driving experience.
Interior Rework Impact on Display Accuracy and Settings
Interior rework on a Mercedes can significantly impact the accuracy and settings of its head-up display (HUD). When modifying the vehicle’s interior, whether through upgrading materials, replacing components, or adding new features, adjustments are often made to lighting, reflectivity, and even air flow. These changes can affect how the HUD projects information onto the windshield, potentially leading to misaligned text, inaccurate data, or reduced visibility.
As part of proper Mercedes head-up display calibration, it’s crucial to address these issues post-interior rework. Professional car paint services, automotive restoration experts, and even services specializing in car dent removal can assist in ensuring that all changes made to the vehicle’s interior do not compromise the HUD’s performance. They employ specialized tools and techniques to fine-tune settings, ensuring optimal display accuracy for a safe and enjoyable driving experience.
Step-by-Step Guide: Calibrating After Interior Changes
After completing any interior rework on your Mercedes, calibrating the head-up display is crucial to ensure accurate and seamless information projection. Here’s a step-by-step guide for this process:
1. Power Off and Reset: Begin by powering off your vehicle and ensuring all systems are completely shut down. Then, access the car’s settings menu and locate the head-up display option. Perform a factory reset to ensure a clean slate for calibration.
2. Prepare Your Tools: Gather the necessary tools, including a digital calibrator or a compatible smartphone app designed for Mercedes head-up displays. These tools will help you fine-tune the display’s position and angle accurately.
3. Adjust Display Position: With the vehicle in park and the engine off, carefully adjust the head-up display to ensure it projects clearly onto the dashboard. Use the calibration tool to make precise adjustments, considering factors like vehicle paint repair or any minor dent removal if needed, to achieve optimal visibility.
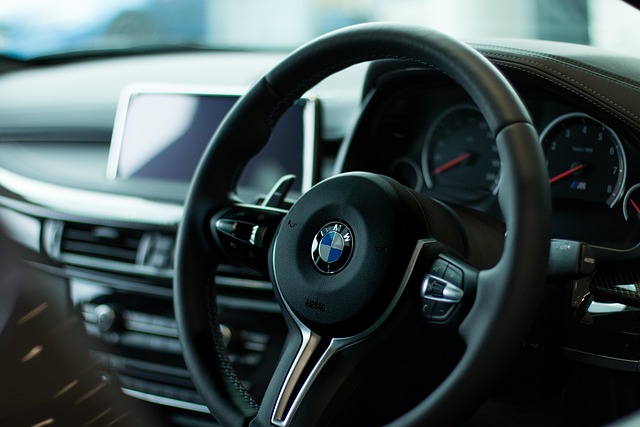
4. Calibrate Using App/Device: Follow the on-screen instructions provided by your calibration tool. This may involve placing a marker on specific points on the display and adjusting settings accordingly. Ensure you align the display correctly with the car’s interior features, like the steering wheel and instrument cluster.
5. Test and Fine-Tune: Once calibrated, start the vehicle and test the head-up display under various driving conditions. Pay attention to the clarity of the projected information, including speed, navigation, and warning icons. Make any necessary fine-tunings to ensure a seamless experience while driving.
After undergoing interior rework, calibrating your Mercedes head-up display is crucial to ensure accurate and optimized performance. Understanding the impact of these changes on display settings is key, as updated interior components can affect the projection’s alignment and brightness. By following a step-by-step guide, you can effectively recalibrate your vehicle’s head-up display, ensuring a seamless driving experience that leverages this innovative technology to its full potential.