


Mercedes head-up display (HUD) calibration is crucial for safe driving and optimal feature performance. It involves precise alignment of sensors, software, and optics with the windshield curvature. Regular calibration prevents issues like distorted displays or inaccurate readings, especially after repairs affecting windshield alignment. Preparation includes a clean workspace with specialized equipment and diagnostic tools. The process starts by powering off the vehicle and accessing HUD settings, then setting reference points on road features for accurate display adjustment. Regular calibration is part of automotive maintenance, particularly after repairs or adjustments to suspension or steering systems.
Mercedes Head-Up Display (HUD) calibration is a crucial process for maintaining optimal performance and driver experience. This comprehensive guide will walk you through the essentials, from understanding the basic principles of HUD calibration to preparing your workspace with necessary tools. We’ll then provide a step-by-step approach to ensure precise calibration. Learn how to navigate this intricate process, ensuring your Mercedes HUD displays accurate information for safer, more enjoyable driving.
- Understand Mercedes Head-Up Display Calibration Basics
- Prepare for Calibration: Tools and Environment
- Step-by-Step Guide to Accurate Calibration
Understand Mercedes Head-Up Display Calibration Basics
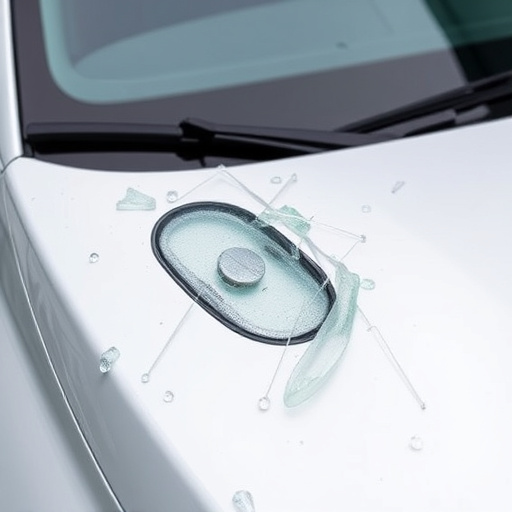
The Mercedes Head-Up Display (HUD) is a cutting-edge technology that projects essential driving information onto your windshield, enhancing safety and visibility. Calibration ensures this system functions optimally, accurately displaying data without distortion or misalignment. At its core, calibration involves adjusting the HUD’s internal sensors, software, and optics to match the unique curvature of your vehicle’s windshield. This process is crucial for ensuring that information, such as speed, navigation directions, and warning indicators, appear correctly in your field of vision.
Proper calibration guarantees the integrity of the entire system, preventing issues like a skewed display or inaccurate readings. While some minor adjustments can sometimes be made within the HUD settings, more complex problems may require the expertise of a professional auto repair shop, especially if related to components like bumper repair or dent removal, which can affect windshield alignment. Therefore, understanding Mercedes head-up display calibration basics is essential for maintaining this innovative feature’s performance and reliability.
Prepare for Calibration: Tools and Environment
Before diving into the calibration process, ensure your workspace is equipped with the necessary tools and the environment is suitable for precise adjustments. You’ll require specialized equipment like a laser pointer or a compatible head-up display (HUD) calibration tool, which projects precise lines on the windshield. A clean, quiet car body shop with excellent lighting conditions is ideal. The surface of the windshield should be free from any contaminants that might affect the projection of the calibration lines.
Additionally, consider having access to a vehicle restoration or car repair shop’s resources, such as diagnostic tools and expertise, which can aid in fine-tuning settings for optimal display alignment. Creating a clutter-free area will enable you to focus on the task at hand, guaranteeing that each step of Mercedes head-up display calibration is executed with the utmost accuracy.
Step-by-Step Guide to Accurate Calibration
Performing a Mercedes Head-Up Display (HUD) calibration is crucial for ensuring accurate and safe navigation information. Here’s a step-by-step guide to help you achieve precise results, enhancing your automotive repair skills in the process. Begin by powering off the vehicle and disconnecting the battery to avoid any accidental activation during the calibration process. Next, locate the HUD settings on your Mercedes infotainment system, typically accessible through the menu options. Navigate to the calibration or setup section, which may be labelled as “HUD Settings” or “Display Calibration.”
Once in the calibration mode, follow the on-screen instructions carefully. These will usually involve setting reference points on specific features of the road, such as lane markings or street signs, using the vehicle’s camera system. The HUD will then adjust its display based on these references, compensating for any distortion or misalignment. Regular auto maintenance includes periodic HUD calibrations to ensure optimal performance, especially after any auto glass repair or adjustments to the vehicle’s suspension or steering systems that might impact the display’s accuracy.
Performing a proper Mercedes head-up display calibration is crucial for ensuring optimal performance and driver experience. By understanding the basics, preparing your workspace, and following a step-by-step guide, you can accurately calibrate this advanced feature. Remember that precise calibration not only enhances the accuracy of vital driving information but also contributes to safety by keeping you focused on the road while providing essential data at a glance.